|
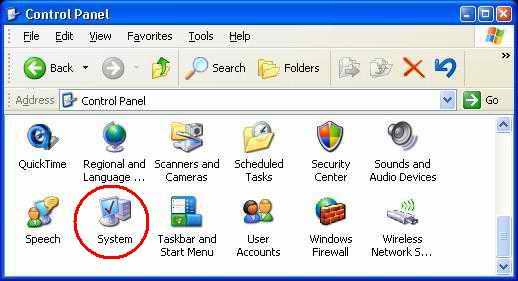
Determining your COM port: 1. First locate the "System" icon in the Windows Control Panel and double click it.
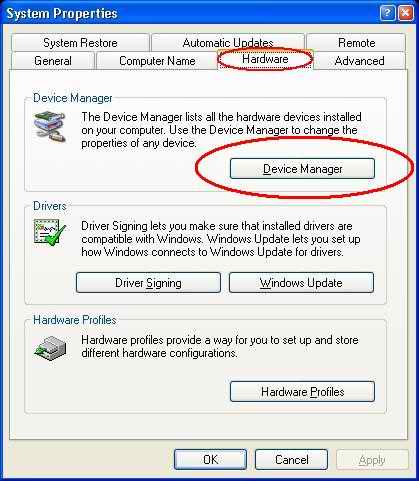
2. Next open the "Hardware" tab and click on the "Device Manager" button.
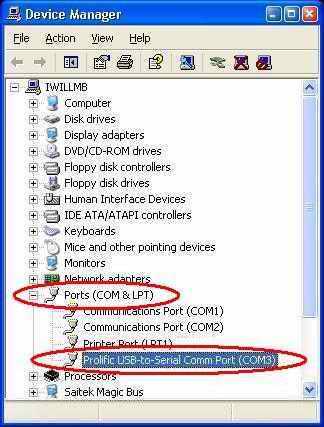
3. In the Device Manager locate the "Ports" entry and click on the [+] symbol.
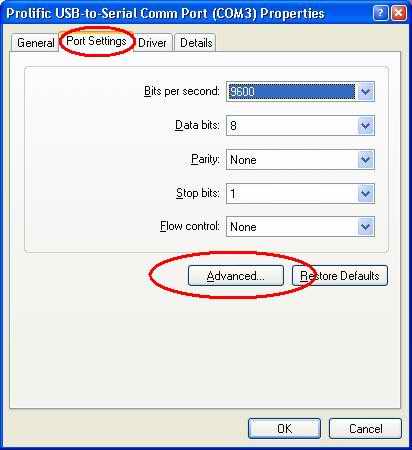
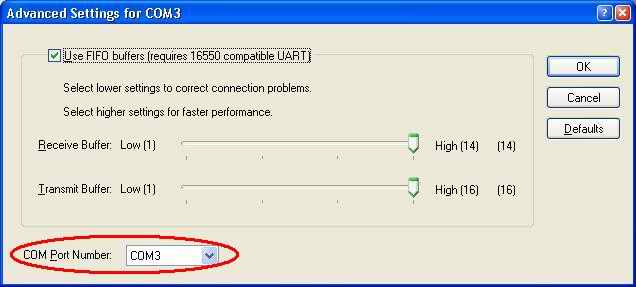
4. Select the "USB-to-Serial Comm Port" and right click on it or use the "File" --> "Properties" Menu item. In the window that appears select the "Port Settings" tab and then click on the "Advanced..." button.
5. In the advanced window we need to select a COM Port Number which is 8 or less. COM1 and COM2 are usually reserved for hardware serial input so choose COM3 through COM8 as a choice and press OK.
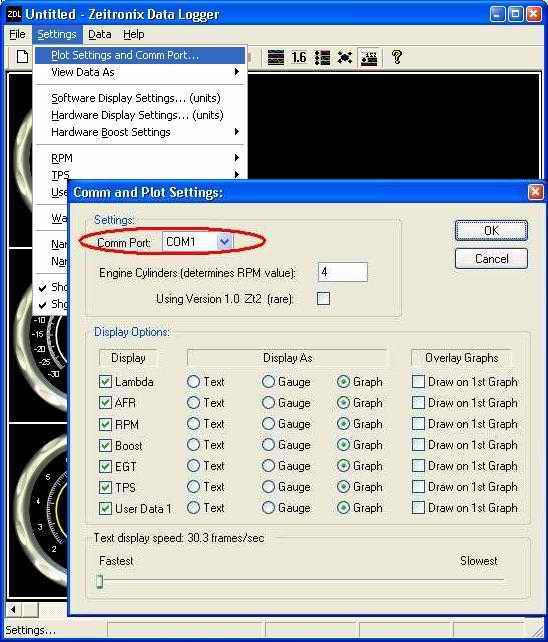
6. For the final step run the software. Choose the menu item "Settings"-->"Plot Settings and Comm Port...". In the dialog box change the "Comm Port" value match the one being used by your Serial-to-USB connector. If you are only using a serial connection try using the com ports listed from the device manager, usually COM1 and COM2. Press OK in this dialog and then the "Enter Key" to begin logging.
|